Categories
Software

Swift Dictionaries and the Codable Protocol

(Not a book by JK Rowling, tho I’m sure many people would purchase and read Harry Potter and the Codable Protocol)

I’m working on a project where I need to write code to convert the following JSON into a structure:

{  "en" : { "stringUnit" : {
              "state" : "translated",
              "value" : "Cat" } },
    "fr" : { "stringUnit" : {
              "state" : "translated",
              "value" : "Chat" } },
    "ja" : { "stringUnit" : {
              "state" : "translated",
              "value" : "ねこ" } }
}

To accomplish this, I created the following model objects:

typealias LocalizationsDict = [String: Localization]

struct Localization: Codable, Equatable {
    let stringUnit: StringUnit
}

struct StringUnit: Codable, Equatable {
    let state: String
    let value: String
}

The code to decode a LocalizationsDict looked like this:

        let languages: LocalizationsDict = try JSONDecoder().decode(LocalizationsDict.self, from: data)

Everything was working wonderfully. But then I got greedy. (queue the jump scare music.) I wanted to see if the keys could be an enum, instead of a String. I felt this would make the code safer, and would mean languages could be types using autocomplete. (The jury may still be out on whether necessity or laziness is truly the mother of invention.)

Here was the code needed to create the Language enum:

enum Language: String, Codable {
    case en = "en"
    case fr = "fr"
    case ja = "ja"
}

Unfortunately…in order for a Swift dictionary to conform to Codable, its key type must be either String or Int. For a Swift dictionary with any other type of key, decode will assume the JSON will be represented as an array, where the first item is the first key, the second item is the first value, third item is the second key, etc.
Thank you Apple Dev forums, yet again. https://developer.apple.com/forums/thread/747665

This would mean the JSON would need to be stored like this:

[  "en", { "stringUnit" : {
              "state" : "translated",
              "value" : "Cat" } },
    "fr", { "stringUnit" : {
              "state" : "translated",
              "value" : "Chat" } },
    "ja", { "stringUnit" : {
              "state" : "translated",
              "value" : "ねこ" } }
}

Sadly, in this situation, the JSON was being generated by the metaphorical ‘somebody else’ and I didn’t have the option to change the format of my incoming JSON.

Instead I added a step when decoding this type of Dictionary. Here’s a code snippet:

typealias LocalizationsDict = [Language: Localization]
typealias LocalizationsDict2 = [String: Localization]

    init(from decoder: Decoder) throws {
        let container = try decoder.container(keyedBy: CodingKeys.self)
        let stringKeyedLocalizations = try container.decode(LocalizationsDict2.self, forKey: .localizations)
        var enumKeyedLocalizations: LocalizationsDict = [:]
        for (key, value) in stringKeyedLocalizations {
            if let enumKey = Language(rawValue: key) {
                enumKeyedLocalizations[enumKey] = value
            }
        }
        self.localizations = enumKeyedLocalizations
    }

The details of what’s happening are as follows:

  1. Decode the JSON to a [String: Localization] dictionary
  2. Create an empty [Language: Localization] dictionary
  3. Iterate through the [String: Localization] dictionary
  4. For each entry, verify it’s possible to create a valid enum value from the language string. (eg map "en" to Language.en
  5. For each entry store the value in the [Language: Localization] dictionary, using the enum key generated in the previous step.

This works, but I thought this seemed like an interesting shortcoming in Swift.

Categories
Software

Zoom Burst Instructions

Here are my instructions for how to open Zoom Burst. (or any iOS Photo Editing Extension)

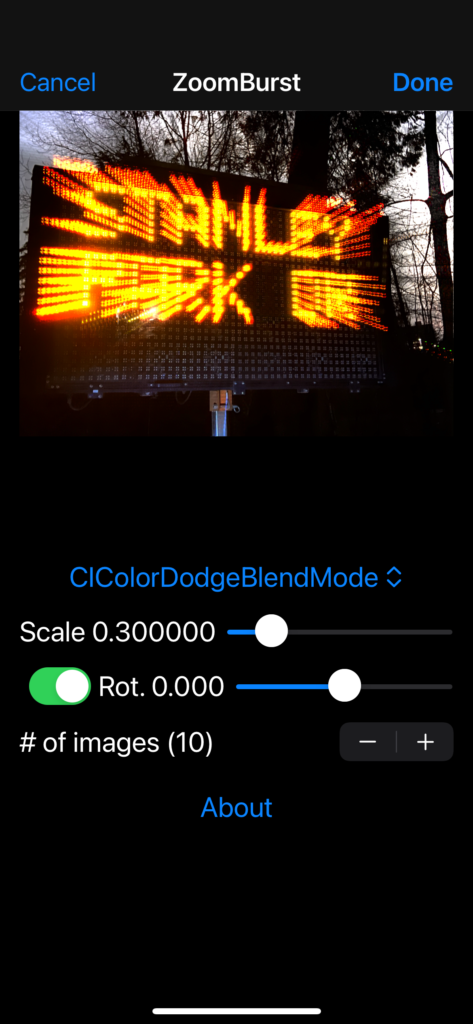
In order to effectively use Zoom Burst, you should understand the principles behind the app. Zoom Burst starts with the original photo serving as the base layer of a composition. It also allows you to make the following adjustments:

  1. Select the blend mode used to compose the layers in the composition (CIColorDodgeBlendMode works best for night photographs)
  2. Specify the amount of scaling used. This determines how much the lights expand or pop.
  3. Specify the amount of rotation used.
  4. Adjust the number of layers. This reduces the gaps between the steps.

    Or if you’d prefer, here’s a video of Zoom Burst in action.

    You can download Zoom Burst from the App Store.

    Categories
    Software

    How to Open a Photo Editing Extension

    Until very recently I had never used a Photo Editing Extension. But now that I’ve built Zoom Burst, I wanted describe the steps involved in opening a photo editing extension.

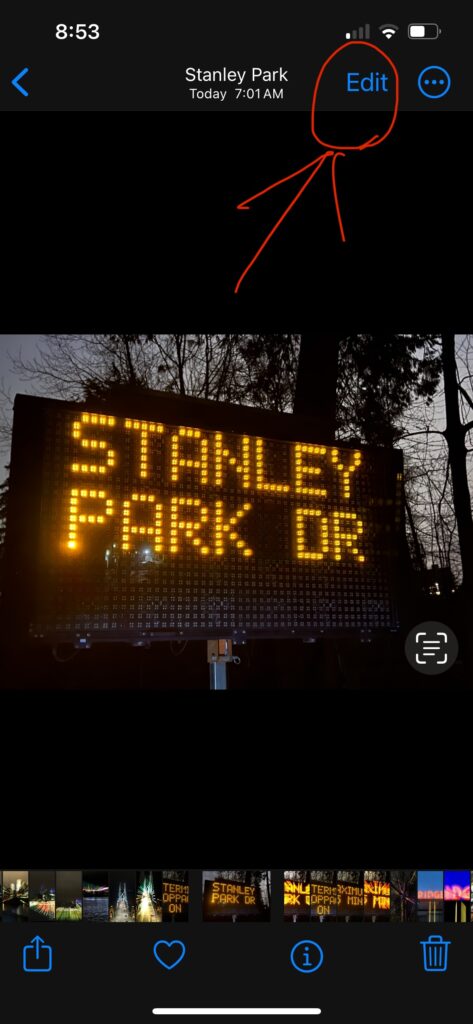
    Step 1. Open the photos app and select a photo

    Step 2. Tap edit.

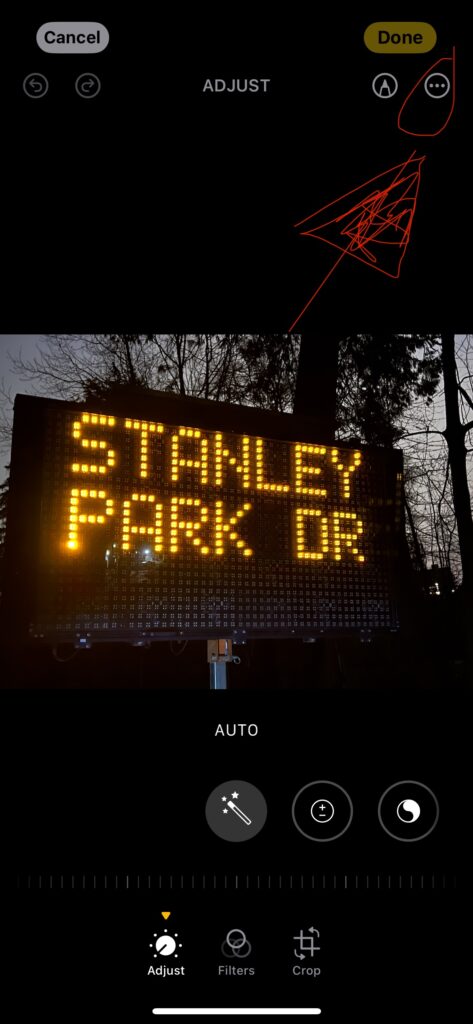
    Step 3. Tap the circle with three dots. (in the top right corner of the screen)

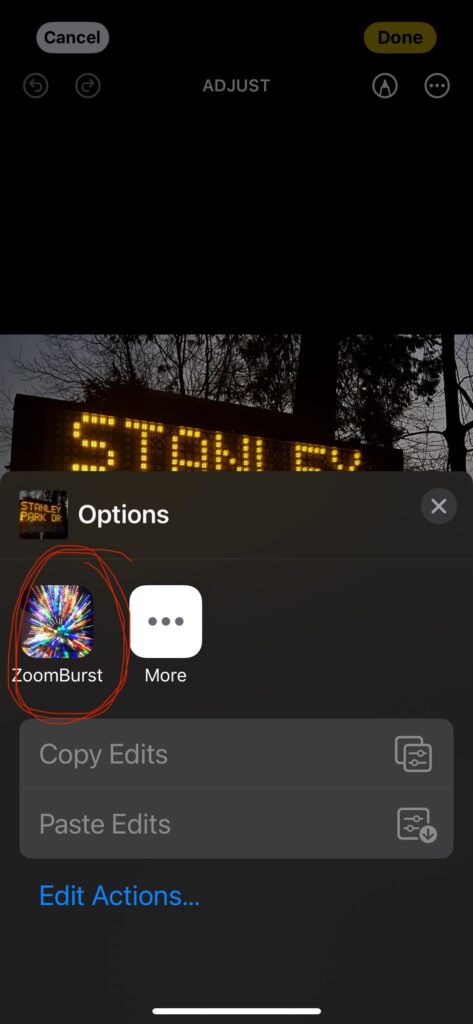
    Step 4. Select the editing extension of your choice. (eg ZoomBurst)

    You can download Zoom Burst from the App Store.

    Categories
    Software

    ZoomBurst is fun!

    I’ve been enjoying playing with a Zoom Burst new photo editing extension that I’ve been building. It lets me add zoom burst effects to photos. If you don’t know what zoom burst is, I recommend you read this great article by Dahlia Ambrose. Or if you’d prefer, Wikipedia offers a great introduction. Before creating my Zoom Burst photo editing extension you needed an SLR (digital or otherwise) and a zoom lens to create zoom burst photos.

    The procedure was:

    1. Set your shutter speed to 1/60th of a second or longer
    2. Press the shutter release in concert with changing the zoom focal length of the lens

    In particular I really enjoyed creating zoom burst photos of lights at night. In early December, it felt like any time I saw Christmas lights, I wished I could create a zoom burst photo. Alas.

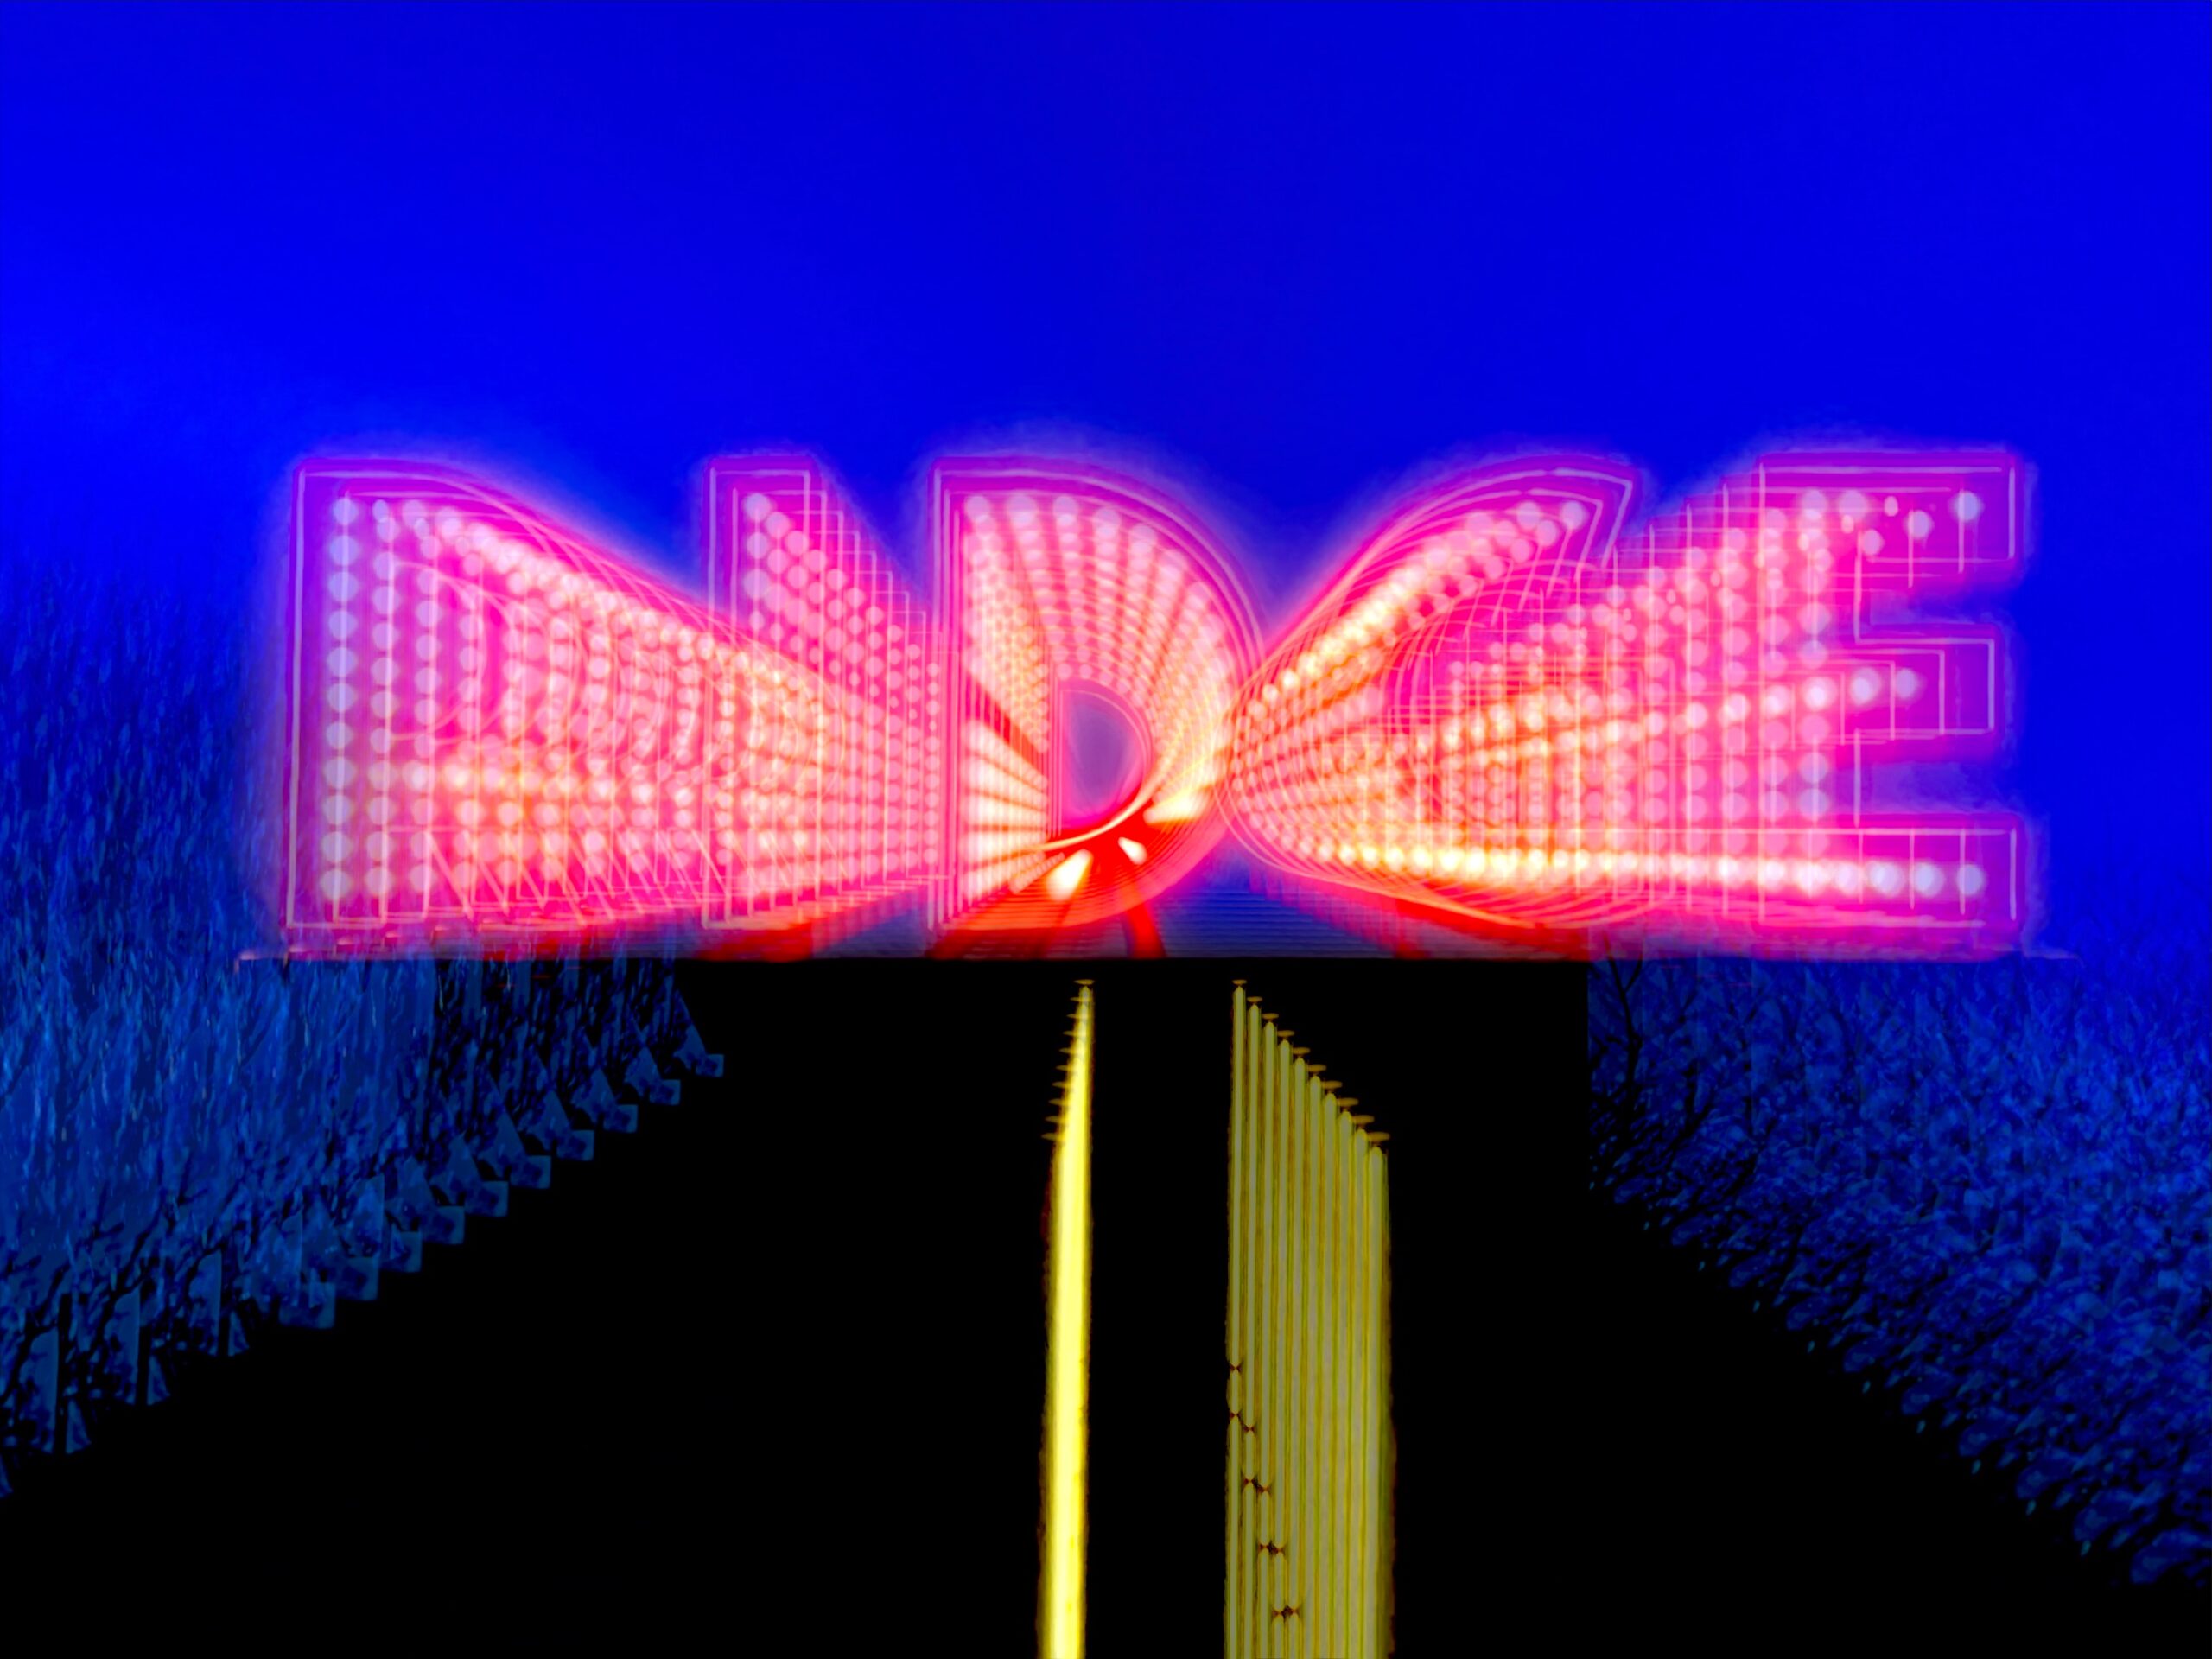
    Now thanks to the miracle of Core Image, I’m able to convert this:

    Into this:

    I have been focussing my initial Zoom Burst efforts on getting it to work with photos of lights at night. I’m cautiously optimistic I’ll be able to extend it to also work with non-night photos. In the meantime, here are a few other photos before and after applying Zoom Burst.

    Before

    After

    I think the controls in the Zoom Burst extension are fairly easy to figure out, but I’ve created a short tutorial, that is available here.

    I had a bit of trouble organically discovering how to use a Photo Editing Extension. To prevent you from fumbling around like me, here is a list of instructions to open/use a Photo Editing Extension.

    And here is a link to the app store:

    Categories
    Software

    SwiftUI Being a bit Quirky

    The Ecstasy and the Agony of Making Software

    I recently wanted to create some content that would sometimes display in an HStack and sometimes in a VStack. The content was the same in both cases, so I wanted to avoid doing:

    if goVertical {
        VStack {
            thing1
            thing2
        }
    } else {
        HStack {
            thing1
            thing2
        }
    }

    Fortunately, I was able to use a ViewBuilder to contain the contents of the stacks.

    @ViewBuilder var stackContents: some View {
        thing1
        thing2
    }
    
    ...
    
    if goVertical {
        VStack {
            contents
                .padding(.horizontal)
        }
    } else {
        HStack {
            contents
        }
    }

    So far so good. (Aside: Am I the only one who didn’t know @ViewBuilder can be used to return a list of SwiftUI views?!) However I eventually got myself into a bit of trouble with my stack contents in an interesting way. Here are the details.

    First you need to know that thing1 is an image and thing 2 is a VStack of sliders, steppers and such. Here’s how the view looks in portrait and landscape.

    BUT… since I will be adding more sliders, steppers and such, I moved them into a ScrollView. But (as you can see on the right) when I did this, The ScrollView took more height than it needed and short changed the Image.

    My first thought was in use a layoutPriority modifier on the image, but this had no effect, so I removed it. Next, I tried adding background modifiers to the VStack contents, and that proved to be very illuminating. (see below)

    Here is the code with the background modifiers:

            VStack {
                contents
                    .background(.red)
                    .padding(.horizontal)
                    .background(.blue)
            }
            .background(.yellow)

    Applying horizontal padding to contents did not apply it once, it (presumably) iterated through all the items in contents and applied the padding to each item in contents.

    I moved the padding (and background modifiers to apply to the VStack, instead of contents

            VStack {
                contents
            }
            .background(.red)
            .padding(.horizontal)
            .background(.blue)

    Great, this looks more like what I was expecting with the padding. But the image is still narrower.

    So I re-added the layoutPriority modifier to the image, and that did the trick. I still don’t understand why the ScrollView ‘steals’ vertical space from the Image. (And maybe one day I’ll better understand what causes me to anthropomorphize SW modules like layout engines.)

    The interesting thing for me in this issue was how doing something incorrectly (ie applying the horizontal padding to the contents of the VStack, rather than to the VStack) worked correctly at first, but when the butterfly flapped its wings (ie one of the elements in contents was wrapped in a ScrollView) the wheels fell off.

    Encountering and eventually overcoming this type of problem is a big part of the ecstasy and the agony of writing software.

    Categories
    Haiku

    Haiku for an Old House

    Tearing down the house
    Big yellow excavator
    Eating bite by bite

    One house to the west
    A new foundation in place
    Waiting for the top

    Gonna miss the house
    Next door. Small quaint and frumpy
    Great people in there

    Categories
    Haiku

    Rubiks Cube Haiku

    Turn the yellow face
    Now white is messed up. Next time
    Unpeel the stickers

    Categories
    Haiku Uncategorized

    Random Full Time Employment Haiku

    You and me belong
    To the Sun. Everyone does,
    But you more than most.

    Marge thought through laughing
    Ivy is more circumspect
    Syllables matter

    Categories
    Books

    Ice and Death Haiku

    Squishy sidewalk ice
    Slippery as hell, very hard
    Glued to the concrete

    Not near our house
    Not my problem, even though we
    Would all fall quickly

    I get the mattock
    To attack it, whack by whack
    Big chunks break apart

    Kick the chunks and slush
    Off to the sides, clear the path
    Unslippery again

    Admiring my work
    Every time I go that way
    Walking is easy

    What if I am gone?
    This clear patch of path could be
    My big legacy

    Categories
    Haiku

    Mish Mash Mush Haiku

    Hearing Makossa
    Smelling sand roasted peanuts
    This is Yaoundé

    When I skate outside
    My eyes smile and my legs sing
    A blade glides on ice

    But once it warms up
    The ice turns to gooey mush
    Puddles of warm slush